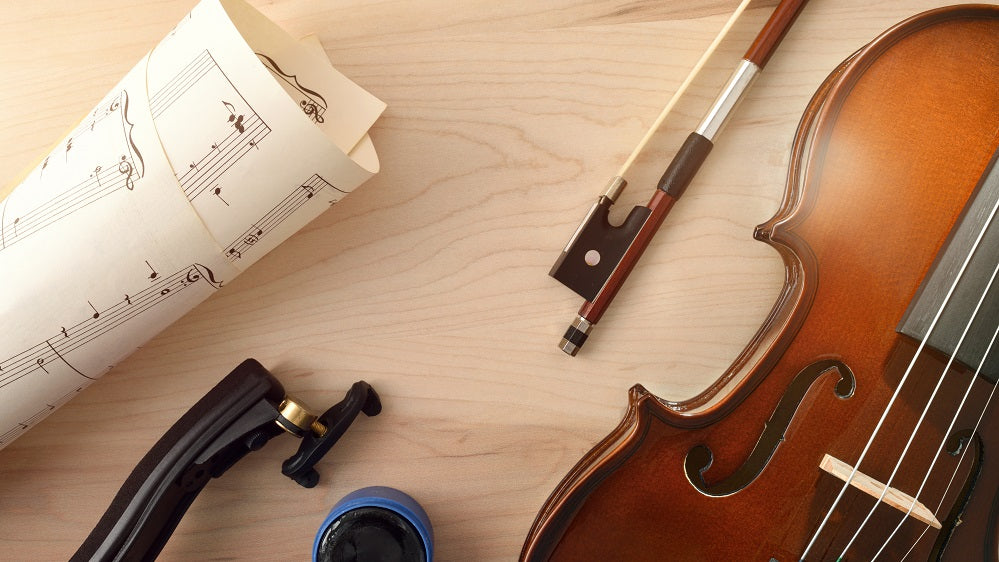
Crafting a violin by hand is an art that marries tradition with personal expression, a journey that transforms simple materials into a conduit of music. As a luthier, every violin I create is a chapter in my ongoing narrative, a story that began years ago in a small, sunlit workshop where I first learned to shape wood into melody.
The First Steps: Selecting and Preparing the Wood
The process begins with the selection of wood, a critical step that sets the foundation for the violin's tone and character. Spruce for the top, known for its resonance and lightness, and maple for the back, sides, and neck, cherished for its strength and aesthetic qualities. I recall my first visit to a wood merchant, where I learned to scrutinize each piece, looking for the right grain, color, and texture. This early lesson was about more than just material selection; it was about developing an eye and a feel for the wood that would become an extension of the musician's soul.
Once the wood is chosen, the meticulous process of shaping begins. Carving the top and back plates is a practice in patience and precision. I remember the first time I carved a scroll, feeling the chisel glide through the maple, uncovering the elegant curves that are the hallmark of a violin's silhouette. Each stroke was a conversation with the wood, guided by an understanding of its properties and potential.
The Body: Carving and Assembly
The body of the violin, with its graceful curves and deep hollows, is crafted with an array of specialized tools. The internal blocks and linings are carefully fitted, a process that demands both strength and delicacy. Bending the ribs to form the violin's sides was a challenge that I initially struggled with. The wood must be heated gently, then bent without breaking, a skill that I honed over many trials and errors. This stage of the process is a ballet of force and finesse, where the luthier's touch can make all the difference.
The assembly of these parts is like orchestrating a symphony. Each component must come together in perfect harmony, creating a structure that is both robust and resonant. I learned this the hard way during my early days, when an improperly fitted joint led to weeks of extra work. It was a valuable lesson in the importance of precision and attention to detail in violin making.
The Neck and Fingerboard: Precision Work
Shaping the neck and attaching the fingerboard is a task that demands the utmost accuracy. The angle and position of the neck determine the violin's playability and sound projection. My mentor often said, "The neck is where the musician and instrument meet." I remember spending hours ensuring the neck was perfectly carved and aligned, aware that this part of the violin would be under constant scrutiny by the player.
The fingerboard, typically made of ebony for its durability and sleek appearance, is another critical component. Its shape and smoothness affect the violin's playability and the comfort of the musician's hand. My first attempt at shaping a fingerboard was less than perfect, but it taught me the importance of subtlety in curvature and the feel under the fingers.
The Varnishing: Enhancing Beauty and Tone
Varnishing the violin is both an aesthetic and acoustic consideration. The right varnish not only protects the wood but also enhances its tonal qualities. The choice of varnish and the method of application can significantly affect the instrument's sound. I spent many hours experimenting with different formulas and techniques, learning how each layer added depth and character to the violin.
This stage is also deeply personal, where the luthier's artistic flair comes into play. My first varnished violin, with its golden-brown hue, was a moment of pride. It was a reflection of my journey, a blend of tradition and personal expression.
Setting Up: The Final Adjustments
The final step is the setup, which includes fitting the bridge, soundpost, pegs, and tailpiece. This is where the violin truly comes to life. The placement of the soundpost, a small wooden dowel inside the violin, is particularly crucial. It must be positioned perfectly to balance the tension of the strings and shape the instrument's sound. The first time I heard a violin I had crafted being played, it was an indescribable moment, a culmination of countless hours of labor and love.
In Conclusion
Handcrafting a violin is a journey of discovery, a blend of art, science, and craftsmanship. It's a process that demands dedication, patience, and a deep understanding of the materials and music. For those embarking on this path, remember that each step, each decision, shapes the voice and soul of the instrument. Your hands are not just creating a violin; they are weaving a story of tradition, innovation, and musical expression.